By: Andrea Suarez, ACMobility
Sharyn Jacobsen reflects on how her mother shaped her passion for cooking and baking.
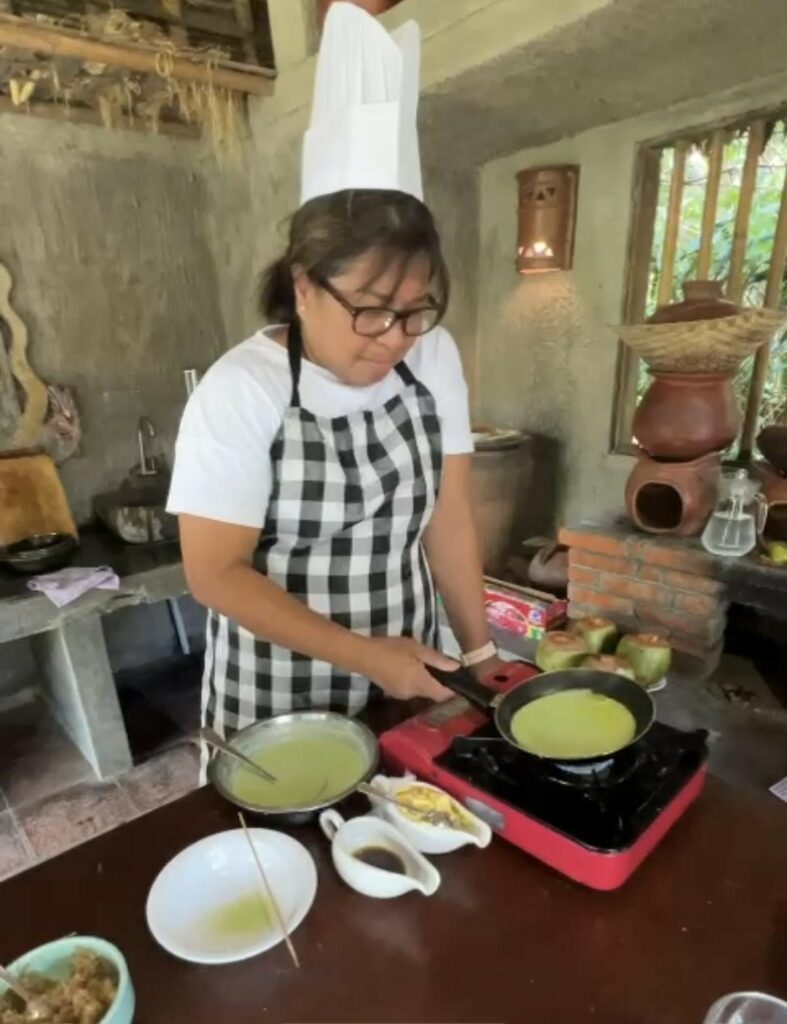
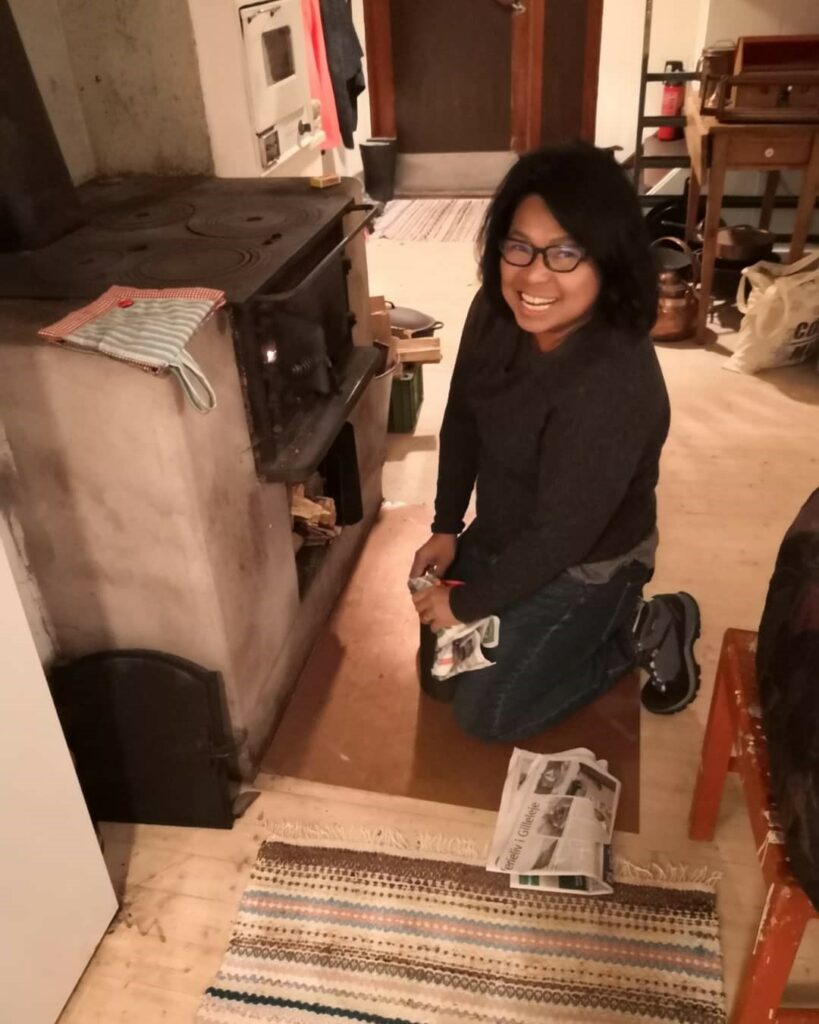
From 8 to 5, Sharyn Jacobsen makes high-stakes decisions as the Chief Finance Officer of ACMobility. But after hours, she trades spreadsheets for spatulas. Come evening, she’s in the kitchen—apron on, hands dusted with flour—baking sourdough bread from scratch using a starter she’s kept alive since 2016.

Sharyn’s love for cooking and baking began in childhood, in a kitchen filled with the warmth of her mom, Meriam, and lola. “I was always in the kitchen with them,” she recalls. As a young girl, she started experimenting with recipes—sometimes with questionable results—but her mother never discouraged her. “She’d buy me ingredients even if the food didn’t turn out well or had to be thrown away.”
Her passion grew over the years and led her to take short culinary courses at Enderun to hone her skills. Eventually, Sharyn started to bring homemade dishes to family gatherings—dishes made entirely from scratch. “It’s those moments that kind of sealed it,” she says. “We’d each share what we cooked.”
When asked what dish reminds her most of her mom, she says: “Adobo and Leche Flan. Until now, my mom still makes really good Adobo and the best Leche Flan.”
Over time, Sharyn developed her own cooking identity—still rooted in the past, but with new flavors and influences. “My style now is very different from my mom’s,” she says. “I’ve developed my own take on Adobo. I learned from her, but I’ve made it my own.” Her culinary interests have also expanded beyond Filipino dishes, with a growing focus on European flavors.
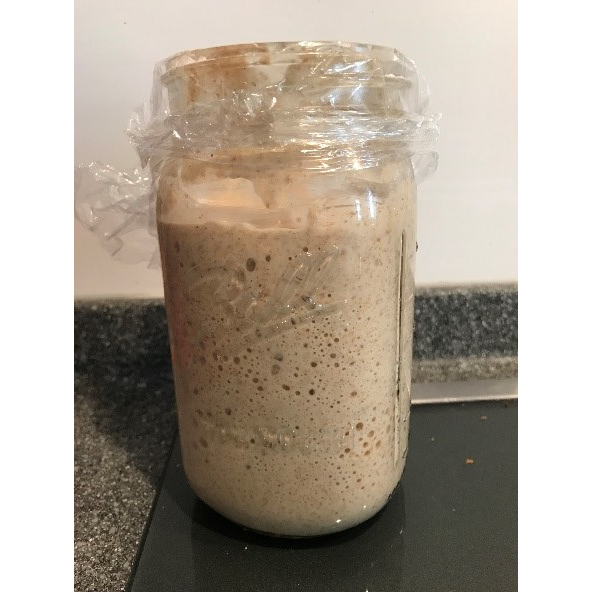
These days, her signature is sourdough bread—a staple in their home. “Unlike most home bakers, I don’t use instant yeast. I maintain my own starter—it’s like a pet. You have to feed it to keep it alive.” She even adapts her recipes, making gluten-free loaves for her husband, who is gluten intolerant.
For Sharyn, cooking is more than a hobby, it’s a form of self-care and creative expression. “When I’m in the kitchen, I get lost in a different world,” she says. “It’s something completely different from what I do for work. It helps keep my work-life harmony in check.”

To those just starting out in cooking or baking, her advice is simple: keep going. “Even if the first few dishes aren’t great, just keep trying until you find your style,” she says. “Remember that when you cook, you’re doing it for the people you love. There’s an expression of love in every dish.”
As for what to serve at your next family gathering, Sharyn doesn’t prescribe a particular menu. “What matters most is sharing food that everyone enjoys—and more importantly, sharing the moment. Food brings people together, but it’s the time spent with your mom that really counts. It doesn’t matter what’s on the table, as long as it’s something you all love.”
As a special treat for readers, Sharyn shares her go-to sourdough recipe and her own spin to her mother’s Adobo recipe.

Ingredients:
- 800 grams of good bread flour
- 460 grams of water (I sometimes adjust this down if the room is very humid.)
- 320 grams of starter dough
- 17 grams of kosher or sea salt
Sharyn’s notes: It’s a lot easier than how I have written the recipe, I promise!
- I use KitchenAid when I make bread since using cooking tools makes it very easy.
- My starter dough, which I’ve had since 2016, is 100% hydrated. I keep this in the fridge and feed it with dark rye flour only once a week. If anyone wants a starter dough, just drop me a message and I will gladly share.
- Since I don’t bake every day, I feed my starter dough 2 days before baking.
- I do a cycle feed at least 3 to 4 times before I bake to ensure that it is fully alive and is at optimal state when I bake.
Steps:
- Measure the water before adding the starter dough. If the starter dough floats when you drop it in the water, that means the dough is at its optimal state for baking.
- Measure your bread flour. You can replace up to 10% of your bread flour with rye flour to add flavor.
- With a hook, let your machine run until all ingredients are fully incorporated. This takes about five to seven minutes.
- Add salt and continue kneading. This takes between 25 to 30 minutes at low speed, or longer depending on the room temperature.
- Do the pane test to check its readiness: Take a small mound from your dough, stretch it thinly enough that it’s like a window pane where you can see the light through. If the dough breaks when you stretch, it means that you have not yet developed enough gluten. Continue kneading at a low speed.
- While your machine is doing all the work, flour your banneton basket or use a mixing bowl and line it with cloth covered in flour.
- When your dough is ready, transfer it onto your lightly floured kitchen counter.
- Using a dough or bench scraper, divide the dough in half.
- Work with the first half of your dough. Stretch one end of the dough toward the center, then fold the other end over it.
- Rotate the dough 90 degrees and repeat the stretch and fold.
- Using the edge of your palm, gently roll the dough to create surface tension. This helps shape the dough. Once shaped, transfer it to your prepared banneton. Repeat the process with the other half.
- Let the dough rise in the warmest part of your kitchen for about 1.5 hours, covered with a kitchen towel. (Alternatively, some bakers refrigerate the dough for 6–8 hours to develop more flavor.)
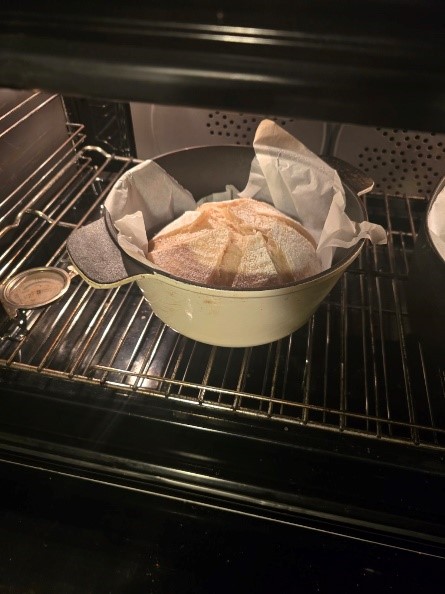
- About 30 minutes before the dough finishes rising, preheat your oven to 250°C. I also preheat my two Dutch ovens at this time.
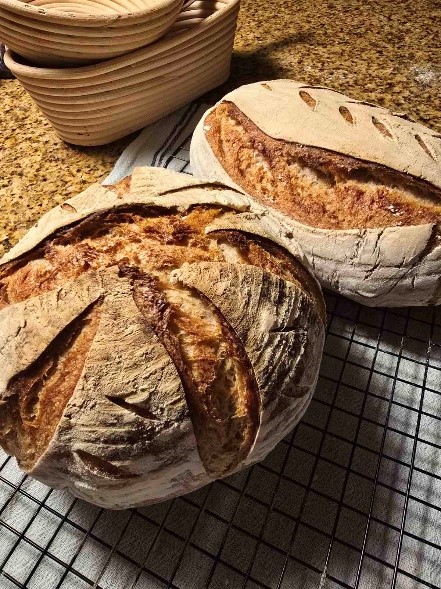
- When the sourdough is ready, I flip it onto a piece of baking paper and gently brush off any excess flour. Then, using a sharp blade or bread lame, I score the surface of the dough to guide how it will expand during baking.
- Carefully lift the dough using the baking paper and place it into the hot Dutch oven. Cover it with the lid—remember, the Dutch oven is very hot. Repeat the process with the other half.
- Carefully return the Dutch ovens to the hot oven and bake for 20 minutes with the lid on.
- Reduce the temperature to 200°C, remove the lids, and bake for another 10–15 minutes.
- Once done, take the loaves out and let them cool completely on a rack covered with a kitchen towel. Soon, you’ll be ready to enjoy your homemade sourdough bread.
To store your sourdough, slice the loaf and wrap each slice in cling wrap. Place the wrapped slices in a resealable bag and freeze for 4–6 weeks. When ready to eat, thaw overnight and toast—it’ll taste just like freshly baked bread.

Sharyn’s notes: I don’t measure my ingredients—I just feel and taste my way!
Ingredients:
- Pork liempo, cut into one-inch pieces
- Soy sauce
- Fish sauce
- Balsamic vinegar
- Apple cider vinegar
- Garlic (Put as much as you want!)
- Black pepper
- Laurel leaves
- Some fresh chili, if you want a bit of heat
Steps:
- In a hot pan, sear your pork on all sides until golden brown. Set aside the pork in a bowl after searing.
- After searing, lower the heat and sauté your garlic and chili for about 30 seconds only.
- Add the pork back to the pan, then pour in a bit of soy sauce for color, some fish sauce for umami, a splash of balsamic vinegar for sweetness, and apple cider vinegar for tang. Add black pepper and bay leaves, bring to a boil, then stir to combine.
- Add a bit of water, making sure the liquid level matches the height of the pork—never higher.
- Cover the pan partially and let the pork cook slowly until tender.
I prefer my adobo with less sauce, so I simmer it uncovered to reduce the liquid, stirring occasionally to evenly distribute the flavor. For a variation, you can sauté chopped ginger with the garlic and mix coconut milk into the water for a richer taste. Enjoy it with hot rice, or use it as a topping for a slice of sourdough bread. For the perfect open-faced sandwich, I recommend adding pickled onions on top.
What do you think about our latest issue?